
In August I finished work on a game called Restricted Airspace for the Wonderbundle, a bundle of new games by NYC game designers available as a reward to backers of the Wonderville Kickstarter. It is a 3rd person aerial shooter in the style of the original Star Fox set in a city modeled on Beirut in the 1890s. It was the first game I've ever worked on where I allowed myself to focus on the aesthetics above the mechanics, and the aesthetics were thick pixels. I want to break down this look and how you, too, can thicken up your pixels and achieve Yesterday's Pixels, Today™.
Restricted Airspace, 2019
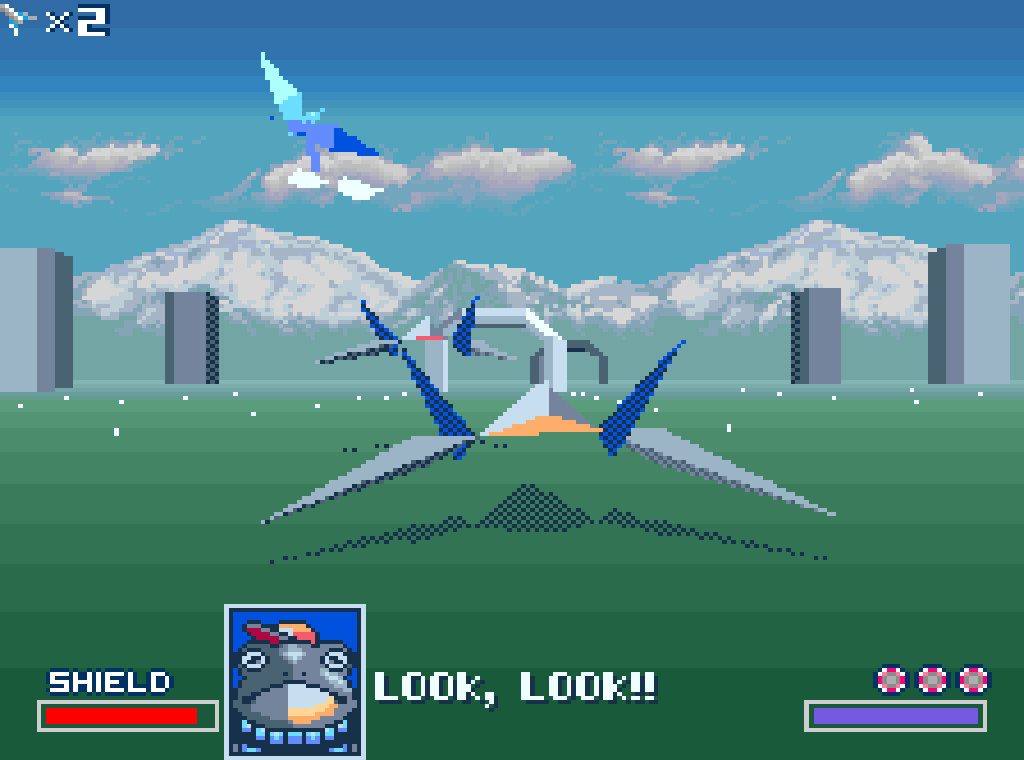
Star Fox, 1993
It's no secret, I love thick pixels. Chunky, low-resolution, low-color graphics make my heart sing. Last year I built a PICO-8 inspired 2D live coding tool that in this style that was a ton of fun to perform with. But it's really the mix of a 3D rendering engine and this aesthetic that I am falling in love with. Just look at this stuff, I live for this.
Digging through old tweets I can see that I've been chasing this look and workflow since 2012, which makes me feel, well, old, but also like I am now resolving something that's been kicking around in the back of my head for the better part of a decade, which feels good?
So, seven years later, what goes into making those pixels so thick? I can break down my approach into four elements:
You can see each one of them at play in this screenshot from Star Fox. The resolution is low enough that you can see individual pixels, there are gorgeous pixel-perfect lines making up the tunnel, the triangles making up the ships all have flat uniform shading, and the whole thing is drawn in sixteen colors with some dithering on the wings and shadows.
😙👌
Rather than jumping into a finished scene and picking it apart, I think it might be more instructive to build up the effect one element at a time. That way we can meditate on the impact and significance of each as we go. But if you're the kind that just wants to see the final code, then, by all means, jump right in!
We will start with a basic "hello, world!" Three.js scene with a rotating cube and some lights, and progressively modify it to apply each element of the effect. I will highlight the changes introduced by each element in the code comments. The examples in this blog post are embedded from jsfiddle and if you don't see them, you might have to temporarily disable your ad blocking or privacy extensions.
Here's our initial scene.
Modern displays go out of their way to give you so many pixels that you can't tell them apart. This is nice in most cases, but it's the opposite of what we're trying to achieve with this effect.
For big chunky pixels, we have to think about two different resolutions: the rendering resolution and the display resolution. The rendering resolution is the resolution at which that WebGL renders. This will be deliberately low, like 128×128 (for reference, the original Star Fox had a resolution of 256×224). The result will be tiny on modern screens, however, which is why we have to also think about the size of the canvas that is shown to users, or the display resolution. I usually multiply my rendering resolution by some factor to arrive at a scaled-up display resolution.
I set my Three.js renderer size to my rendering resolution then I scale up the canvas element itself to the display resolution using CSS, making sure to set image-rendering to pixelated to avoid anti-aliasing. Three.js's WebGLRenderer also supports anti-aliasing, and though it's false by default, most examples will set it to true because that's often what you want, so look out for that if you're copying code around.
For simplicity, I am keeping the rendering resolution square for these examples.
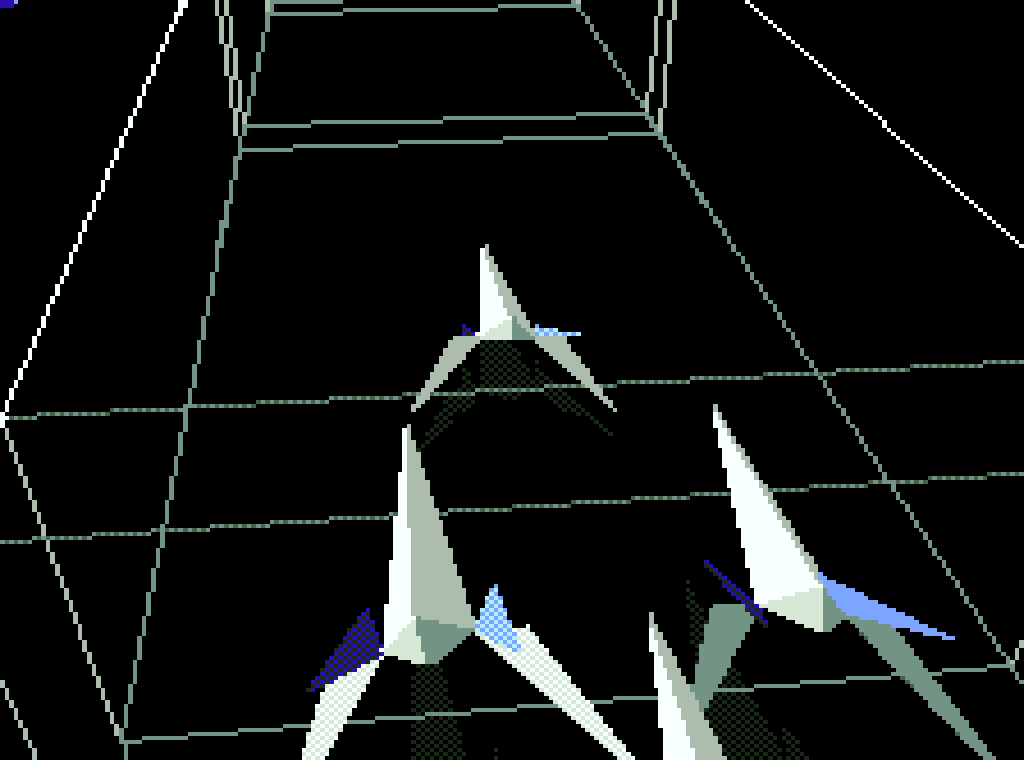
Nice, that's already looking chunky! Something that really sells this effect is lines and points. OpenGL supports three kinds of rasterization primitives: triangles, lines, and points. They show up as different values you can pass as the mode parameter of WebGLRenderingContext.drawElements, among other places. The vast majority of modern rendering is done with triangles, but lines and points are the best way to render exact pixels on the screen.
These lines go off into the distance away from the camera, but each line has a thickness of exactly one pixel on the screen. The precise stair-step pattern comes out of the way OpenGL rasterizes lines and is close to impossible to reproduce using only triangles.
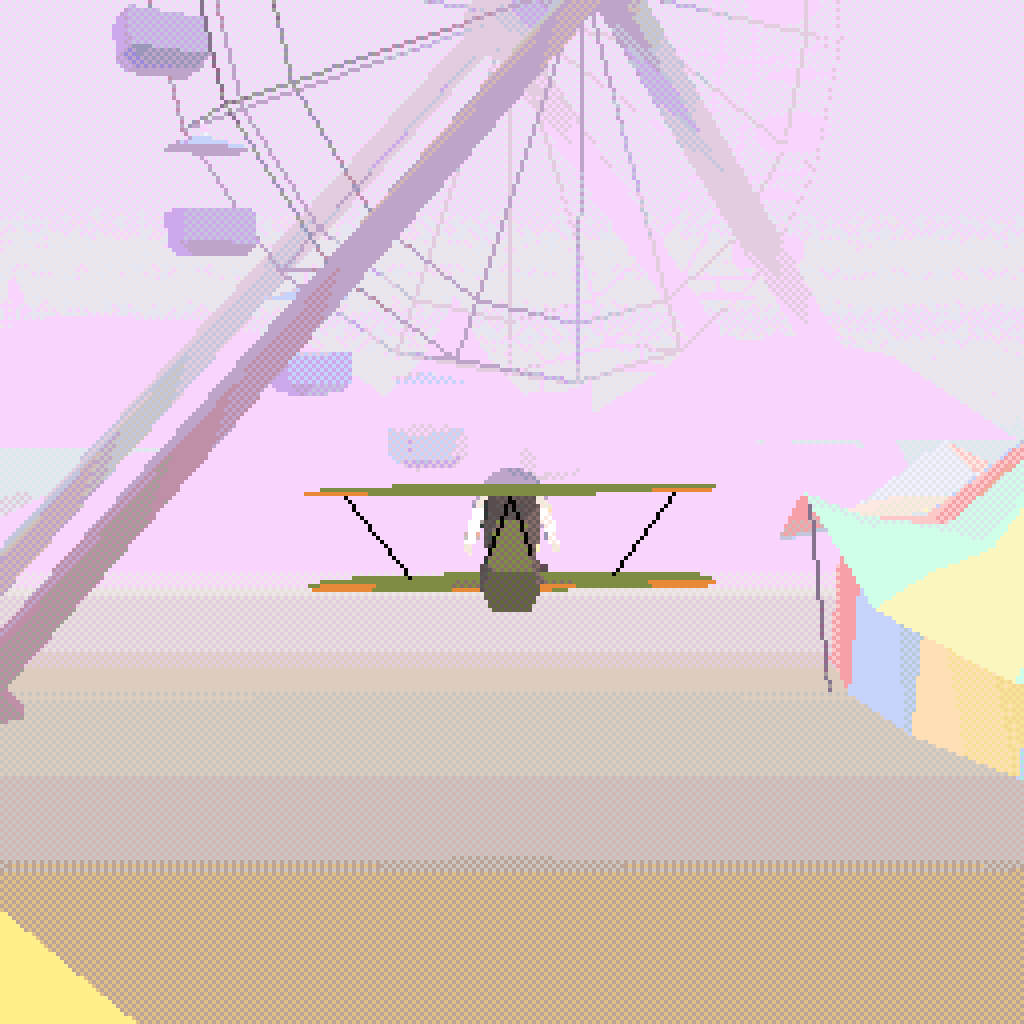
Most modern 3D systems understandably focus on triangles, as they're the foundation of realistic graphics, to the detriment of the other primitives. Unity 3D's rendering pipeline, for example, makes it difficult to render anything other than triangles, and Blender's glTF exporter does not export lines or points, although I am working on a pull request to remedy that. Lines and points are not terribly useful to most workflows, but they look so good at low resolutions that they're worth the effort, in my opinion. In Restricted Airspace, I use them for power lines, electrical towers, iron bars, balconies, a ferris wheel, and a lot more.
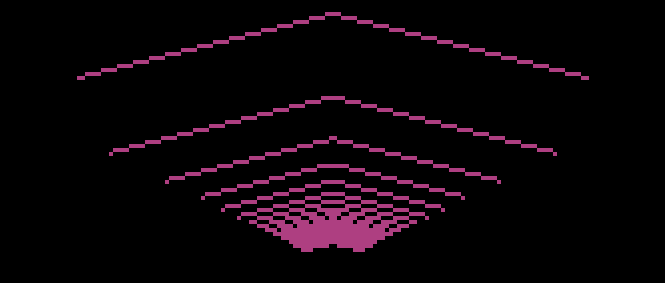
Fortunately, Three.js supports Lines and Points directly, and given our approach of rendering small and scaling up it all "just works" and comes out really nice.
This step is a subtle one, and one that I actually missed while working on Restricted Airspace. We want our geometry to be shaded flat, and by that I mean we want the pixels that make up a polygon's face all to have the same shading.

In this Star Fox screenshot, you can see that every polygon that makes up the building and ship has the same shading (ignoring the decals). For most polygons, that shading is a solid color, like blue or gray, but on the underside of the ship, it's a dither between two colors. This really makes the geometry stand out nicely.

Here's an extreme example of the opposite of this idea. There is a point light between two boxes. The boxes are identical except for their materials -- the one on the left uses MeshStandardMaterial and the one on the left uses MeshLambertMaterial.
MeshStandardMaterial is Three.js's Physically Based Rendering (PBR) material, so it tries to more accurately emulate real-world lighting. As a result, the rightmost face of the cube on the left has a bright spot and a fall off made up of many different shades, despite only being a single polygon. The cube on the right uses the much simpler MeshLambertMaterial, which computes a single shade for each polygon. This is what we want.
In our example the change is simple enough -- we replace MeshStandardMaterial with MeshLambertMaterial. Watch out when importing models from files, however. Depending on the file format and your model your materials might come in as MeshStandardMaterial (this is true for the glTF importer, for example) and you might have to traverse the objects and replace their materials with MeshLambertMaterial yourself.
We have the bulk of our early-90s look working with relatively minor modifications to our basic Three.js scene. The final element of the effect adds significant complexity, but I think it's well worth it -- we finish by constraining the pixels of the resulting image to a palette.
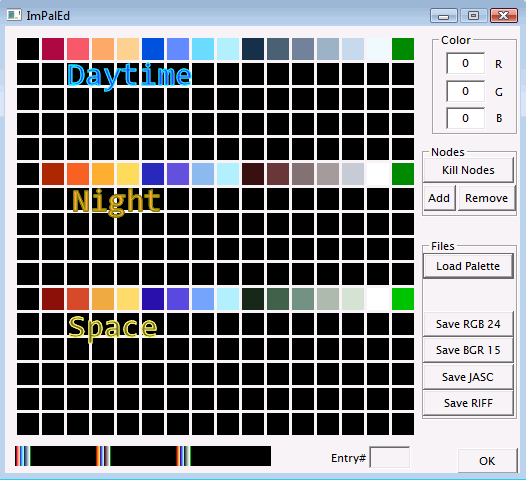
This is a screenshot from user FinS on a romhacking.net thread about Star Fox's palettes. There seem to be three palettes of sixteen colors each for day, night, and space settings. Every pixel of the 3D art will be constrained to one of the colors from whatever palette is active at the time. This contributes a lot to the look we associate with games of that era, and also gives the artists considerable control over the final image.
The first thing to do it to load a palette. The way I wrote the shader, a palette is an array of THREE.Colors, and you can arrive at that any way you like. My approach leans on the wonderful and generous community over at lospec. Talented pixel artists share their handcrafted palettes with the world and I've found that their sense of color makes all the difference between a good low-fi render and an incredible one. Palettes are provided in a variety of formats, but the technique here is designed to work with their "1x PNG" images -- PNG files that 1×n pixels in size, where n is the number of colors in the palette.
The example loads a palette from a URL asynchronously in loadShaderPass and extracts a palette from it using the imageData and palette functions. For this blog post, I hosted a few palettes on postimages.org to get around CORS issues, but when I develop Electron-based games I load these palette images from disk without any hassle.
Given a palette, we can generate the shader. It is a full-screen fragment shader where every pixel of the rendered scene is replaced with a color from the palette. The algorithm is as follows: Every pixel computes the two colors in the palette to which it is closest. If the difference between the distances to the two closest colors is below a threshold, the pixel's new color will be part of a dither pattern of those two colors. Otherwise, the pixel's new color will be the closest color. This all happens in the constrainedPaletteShader function.
To use this shader we need to change the way we're rendering the scene. Instead of using the renderer directly, we need to use THREE.EffectComposer which allows us to apply a pipeline of effects to our rendered scene. Our pipeline is simple, render the scene in a RenderPass then apply the palette shader in a ShaderPass, but it requires us to import some additional JavaScript files from Three.js and rewrite our rendering logic a bit.
And that's it! Feel free to adapt as much or as little of this as you like -- I encourage you to experiment with the examples in the fiddles and try mixing and matching techniques to see what looks right to you. There is more to say about importing models from Blender to work with this pipeline, and how to achieve a 2D-sprite aesthetic using a similar approach but that's best left to future posts.
Happy rendering!
🌟🦊